Set up Port's n8n custom node
Port provides a custom n8n node (n8n-nodes-portio) that simplifies integration with Port's AI agents and API. Instead of making manual HTTP requests for authentication, invocation, and response retrieval, the Port node handles all of this automatically, making it easy to build powerful automation workflows that leverage Port's Context Lake.
This guide walks you through installing and configuring Port's custom n8n node in your n8n instance.
Prerequisites
Before you begin, ensure you have:
- npm installed — Required for installing the Port n8n node package. npm comes with Node.js, install Node.js if you don't have it.
- A working n8n instance — Either n8n Cloud or a self-hosted instance. If you don't have one, follow n8n's guide on using Docker.
- Port API credentials — Your Port
Client IDandClient Secret. Learn how to get them. - A Port account with AI features enabled — Required for using Port AI agents in your workflows.
- We recommend creating a dedicated service account in Port for each workflow or agent integration. This improves security and makes it easier to manage credentials.
Set up n8n instance
If you don't have an n8n instance running, you can set one up using Docker. The location where you mount the n8n data directory is important; this is where you will install the Port n8n node package.
Using Docker (bind mount)
Using a bind mount allows the container to read/write directly to your local filesystem, making it easier to install and manage the Port n8n node package.
-
Create a directory for n8n data (we will call this
$n8n_HOME):mkdir -p ~/n8n-data -
Run n8n with a bind mount:
docker volume create n8n_data

docker run -it --rm \
  --name n8n \
  -p 5678:5678 \
  -e GENERIC_TIMEZONE="Africa/Accra" \
  -e TZ="Africa/Accra" \
  -e N8N_ENFORCE_SETTINGS_FILE_PERMISSIONS=true \
  -e N8N_RUNNERS_ENABLED=true \
  -e N8N_COMMUNITY_PACKAGES_ENABLED=true \
  -v ~/n8n-data:/home/node/.n8n \
  docker.n8n.io/n8nio/n8n
Configuration notes- The
N8N_COMMUNITY_PACKAGES_ENABLED=trueenvironment variable is required for n8n to load community-installed nodes like the Port n8n node. - Replace
"Africa/Accra"with your preferred timezone. TheGENERIC_TIMEZONEandTZenvironment variables should match. - Replace
~/n8n-datawith the actual local path you want to use such as/Users/janedoe/n8n-data. Anything n8n writes to/home/node/.n8n(inside the container) will persist directly to your local directory.
- The
-
Access n8n — Open your browser and navigate to
http://localhost:5678.
Using Docker Compose
If you prefer using Docker Compose, create a docker-compose.yml file:
version: '3'
services:
  n8n:
    image: docker.n8n.io/n8nio/n8n
    ports:
      - "5678:5678"
    environment:
      - GENERIC_TIMEZONE=Europe/Madrid
      - TZ=Europe/Madrid
      - N8N_COMMUNITY_PACKAGES_ENABLED=true
    volumes:
      - ./n8n-data:/home/node/.n8n
The N8N_COMMUNITY_PACKAGES_ENABLED=true environment variable is required for n8n to load community-installed nodes like the Port n8n node.
Then run:
# Navigate to the directory containing your docker compose file
cd /path/to/your/compose/file/directory

# Pull latest version
docker compose pull

# Start the container
docker compose up -d
Install Port's n8n node
Now that you have n8n running, let's install Port's custom node using npm.
Install the npm package
-
Navigate to your n8n data directory (the
$n8n_HOMEdirectory you created earlier):cd ~/n8n-data -
Install the Port n8n node package:
mkdir -p custom
cd custom
npm i @port-labs/n8n-nodes-portio-experimental
The package is installed in the
customfolder in your n8n data directory ($n8n_HOME). -
Restart your n8n instance:
- If using Docker: Stop the container (
Ctrl+Cordocker stop n8n) and start it again with the same command. - If using Docker Compose: Run
docker compose restart.
Restart requiredn8n needs to be restarted after installing community packages so it can discover and load them. Make sure
N8N_COMMUNITY_PACKAGES_ENABLED=trueis set in your Docker configuration. - If using Docker: Stop the container (
The Port n8n node package is available on npm at @port-labs/n8n-nodes-portio-experimental. The package is currently in experimental status.
Quick start
Now that the Port node is installed, let us verify it works by creating a simple workflow.
Add a Port node to your workflow
-
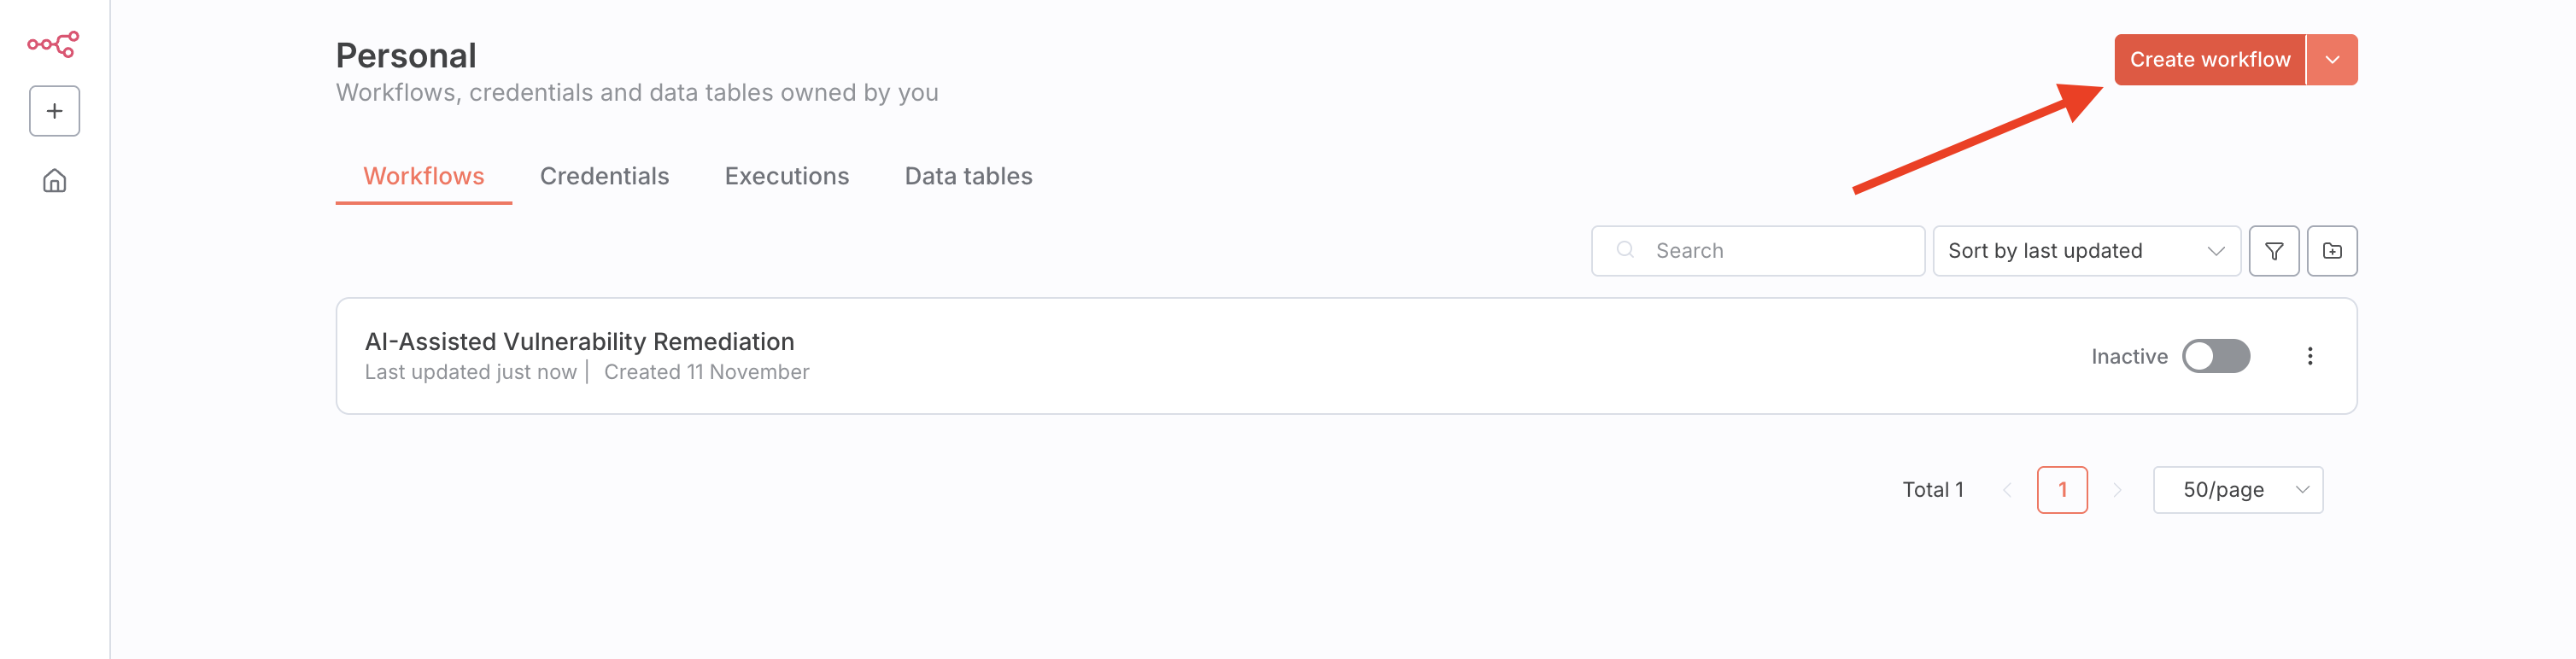
Create a new workflow in your n8n instance.
-
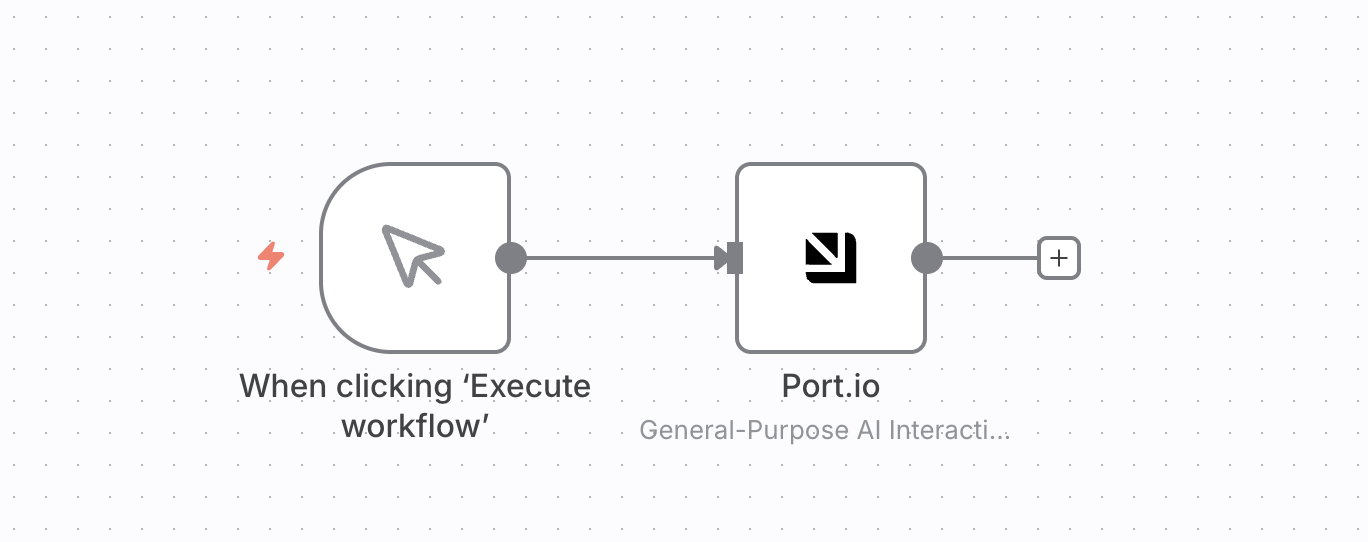
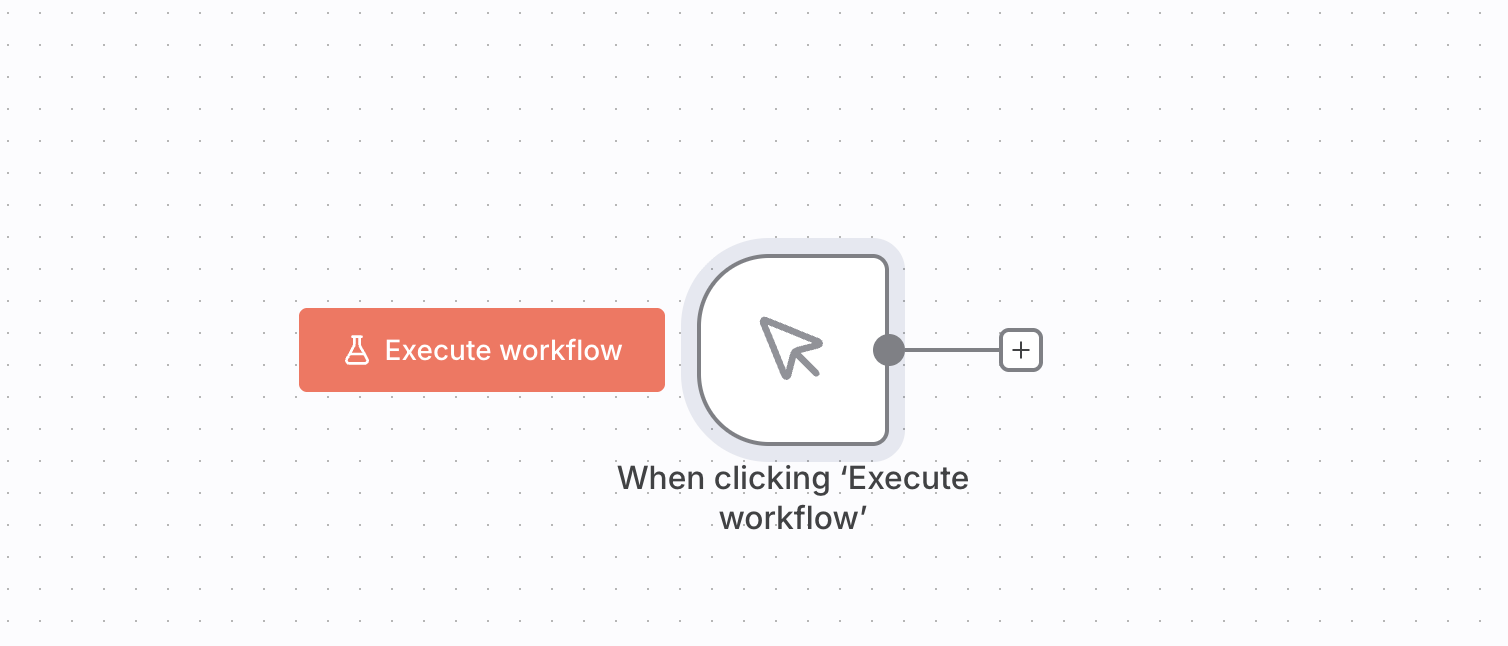
Add a trigger — For testing, add a Manual Trigger node so you can trigger the workflow manually by clicking the Execute Workflow button.
-
Add the Port node:
- Click the + button on the left side of the screen to add a new node
- Search for
portin the node search
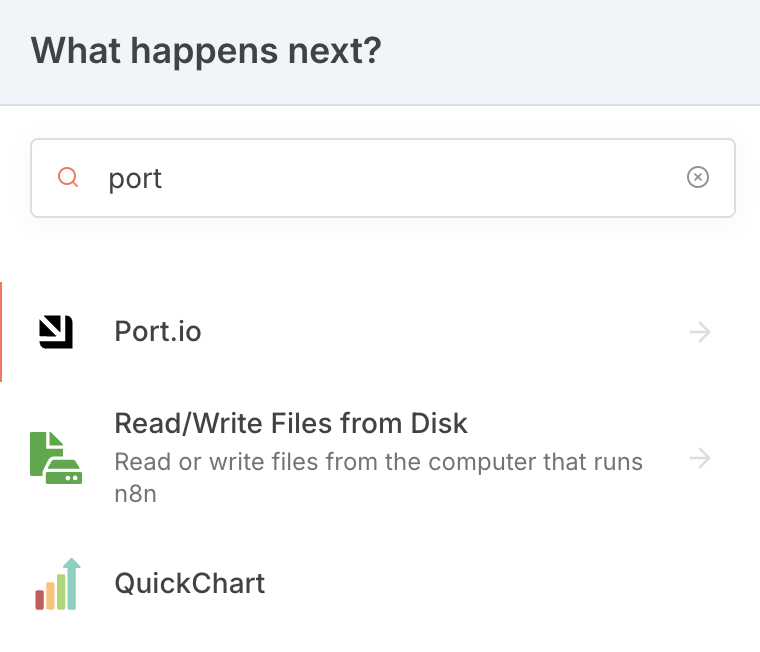
-
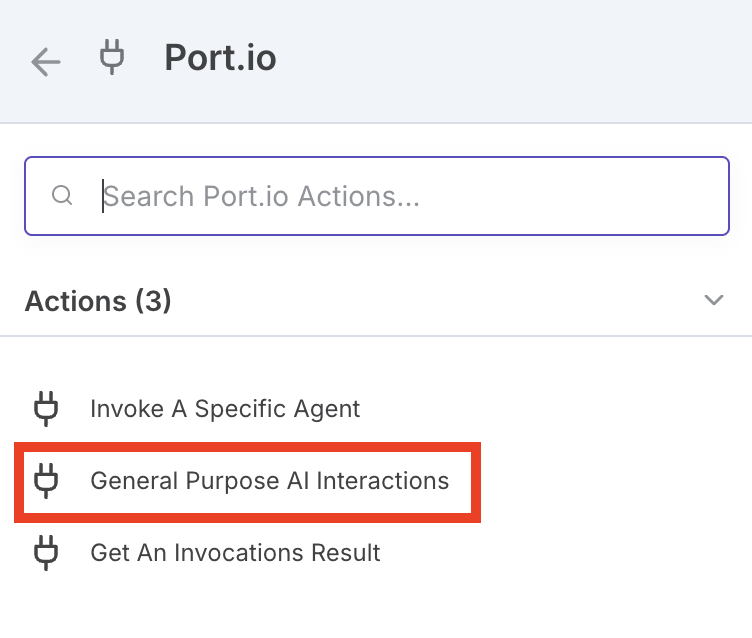
Select a Port node — Click the "Port.io" search result and select "General Purpose AI Interaction" (this is the easiest one to test with).
-
Connect the nodes — Drag from the + icon on the trigger node to the left side of the Port AI node to connect them.
Success!You have successfully deployed your first Port n8n node! The node is now available in your n8n instance.
Configure Port credentials
Before you can use the Port node, you need to add your Port API credentials.
-
Open the Port node — Double-click the Port AI node you just added.
-
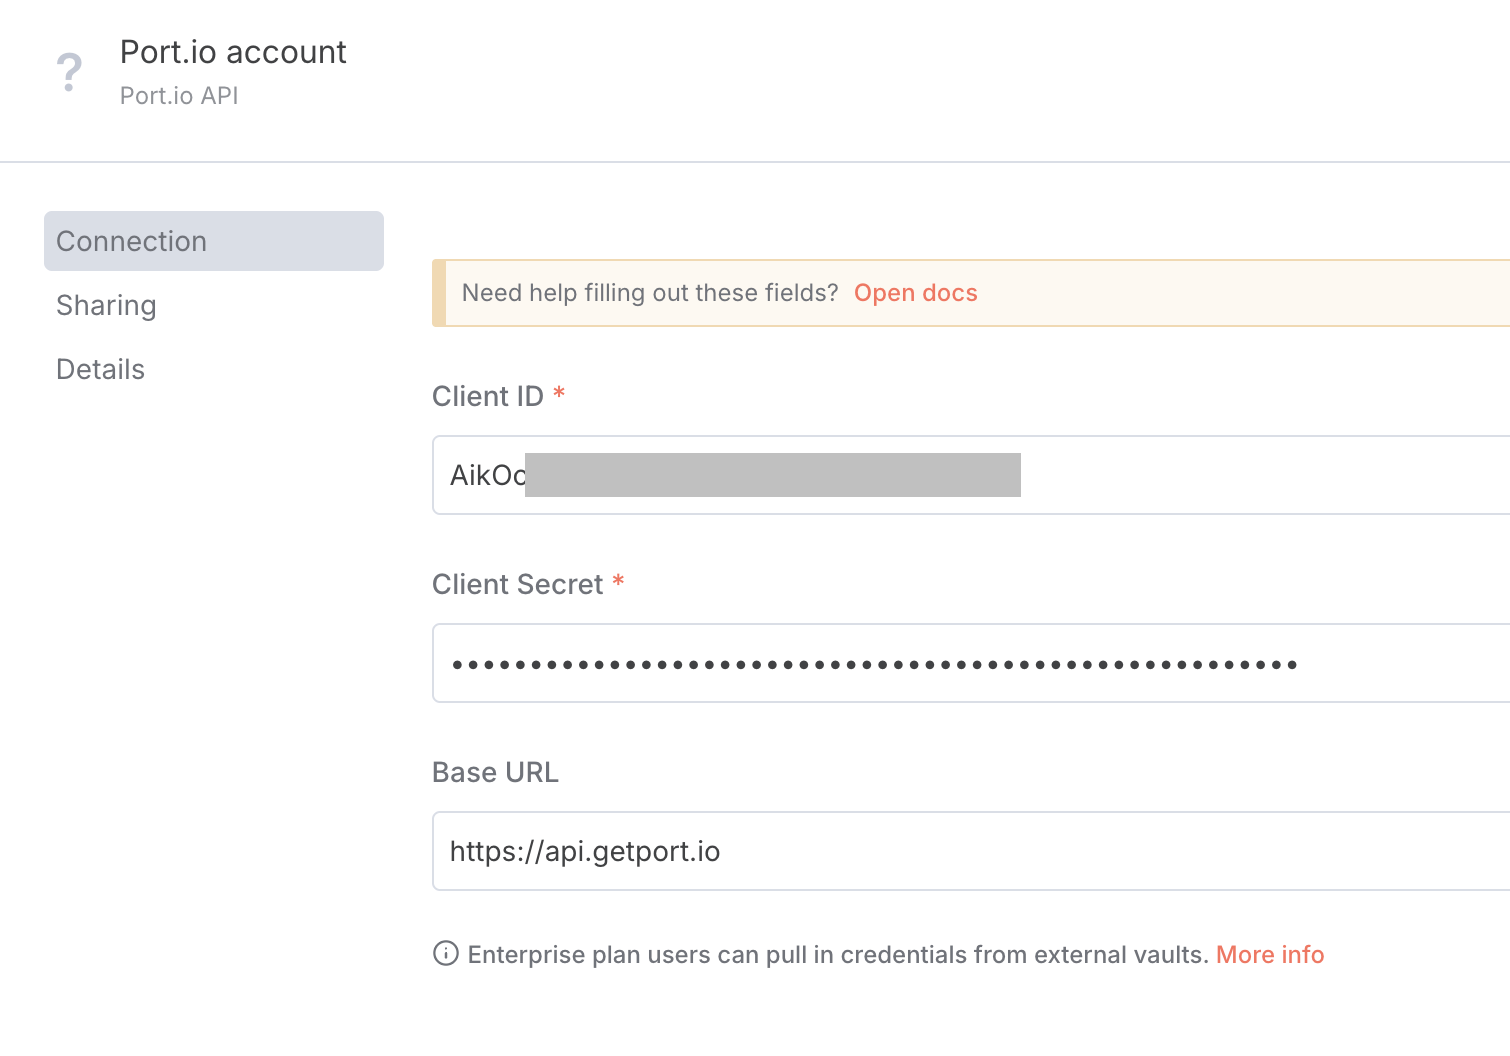
Create a new credential:
- At the top of the node configuration, you will see a dropdown named
Credential to connect with - Click this dropdown and select
Create new credential
- At the top of the node configuration, you will see a dropdown named
-
Enter your Port credentials:
- Client ID — Your Port Client ID
- Client Secret — Your Port Client Secret
If you're not sure how to get your Port credentials, see the Port API documentation.
-
Save the credential — Click "Save" to store the credential.
You can store multiple Port account credentials in n8n and select which one to use for each node. This is useful if you work with multiple Port organizations.
Verify the installation
To verify everything is working:
-
Configure the Port node — In the General Purpose AI Interaction node:
- Select your Port credential from the dropdown
- Enter a simple prompt like "List all ec2 instances in the eu-west region"
- Save the node

-
Execute the workflow — Click Execute Workflow to test the connection.
-
Check the output — If successful, you should see the AI response in the node output.
What's next?
Now that you have Port's n8n node installed and configured, you can:
- Build automation workflows — Use Port's Context Lake to enrich your n8n workflows with organizational context
- Integrate with AI agents — Invoke Port AI agents from n8n workflows
- Query the catalog — Access service metadata, ownership, dependencies, and more
Related guides
- Remediate security vulnerability with n8n and Port AI — Example workflow using Port as a context lake for vulnerability management
- Port n8n nodes repository — Source code and detailed documentation for the Port n8n nodes
Troubleshooting
Node not appearing in n8n
- Check package installation — Verify that
npm i @port-labs/n8n-nodes-portio-experimentalcompleted successfully. Check for anode_modulesdirectory in your$n8n_HOMEdirectory. - Verify environment variable — Ensure
N8N_COMMUNITY_PACKAGES_ENABLED=trueis set in your Docker configuration - Check installation location — Make sure the package is installed in the same directory that's mounted to
/home/node/.n8nin the Docker container - Restart n8n — Community packages are only loaded when n8n starts, so a restart is required after installation
Credential errors
- Verify credentials — Double-check that your Client ID and Client Secret are correct
- Check AI features — Ensure your Port account has AI features enabled
- Test API access — Try making a direct API call to verify your credentials work